
Magnolia Avenue, Carolina Beach
In this project we were tasked with remodeling the entire home.
We tore the house down to the studs so we could build back new. We replaced the old electrical, plumbing, and HVAC systems. We reroofed the home as well. We added a solar system & gas system to the home to power the fireplace and barbeque. We replaced every window and door. We moved and removed walls. We added on to the square footage of the home as well, building a sunroom as well as to the front garage area. We’ve done a lot and we aren’t down yet!
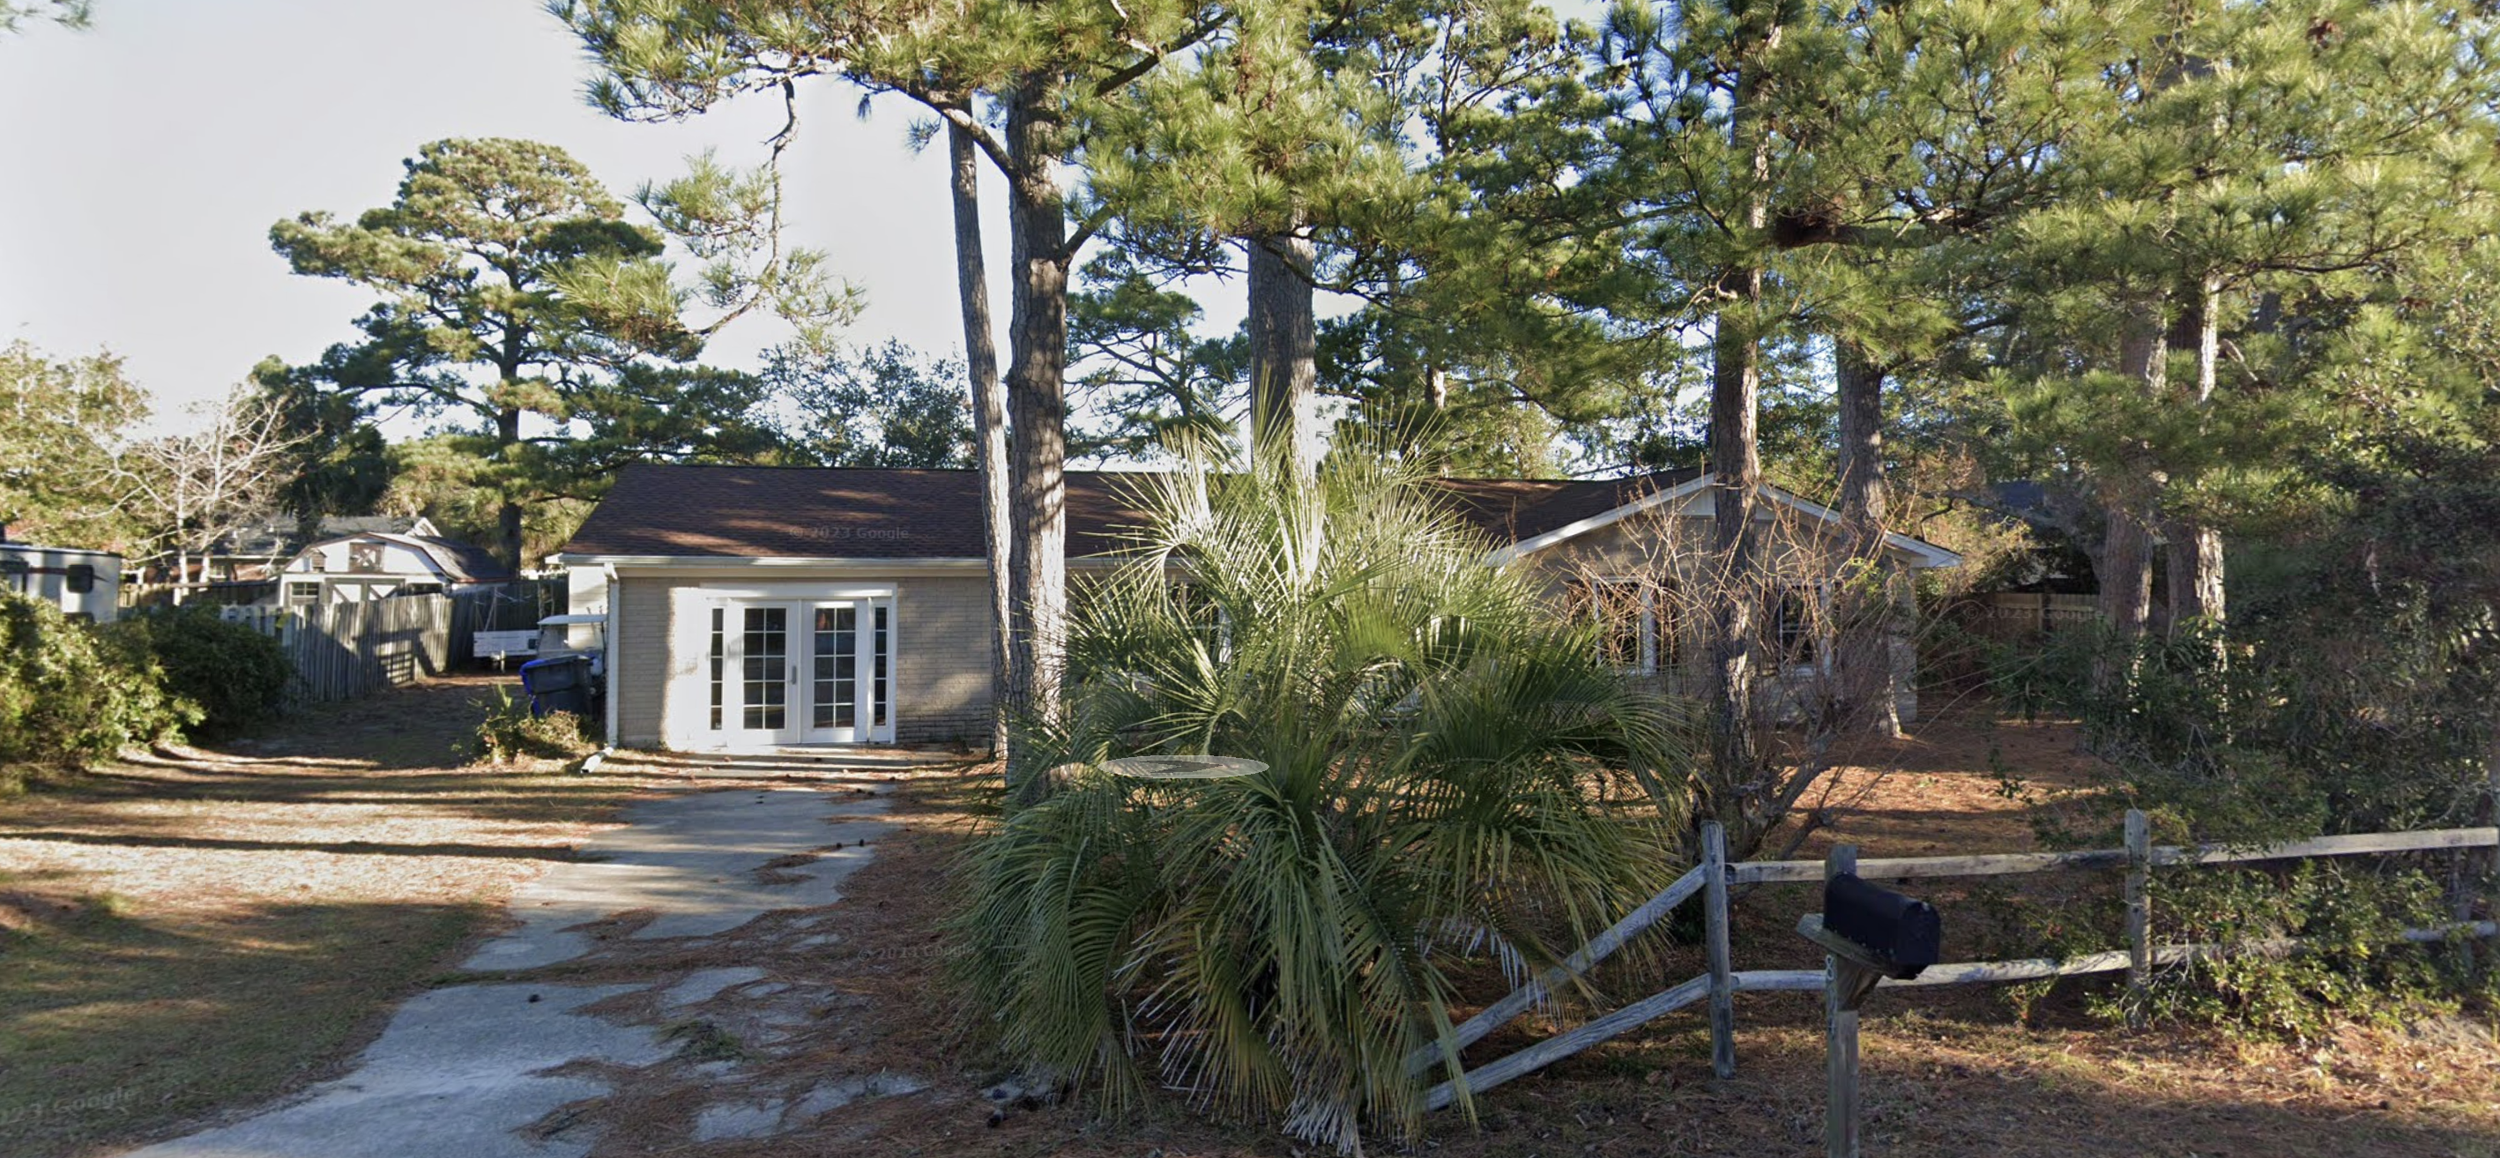
The home from Google Streetview in 2023
The home was in near original condition at the start of construction. Some of the windows and doors were newer but most were 1970s relics. The garage had been converted to living space but poorly. There was a massive concrete patio out back with a huge wooden pergola that all needed to be removed.


If viewing on mobile, rotate phone to enlarge images. Scroll through pictures with Left & Right arrows
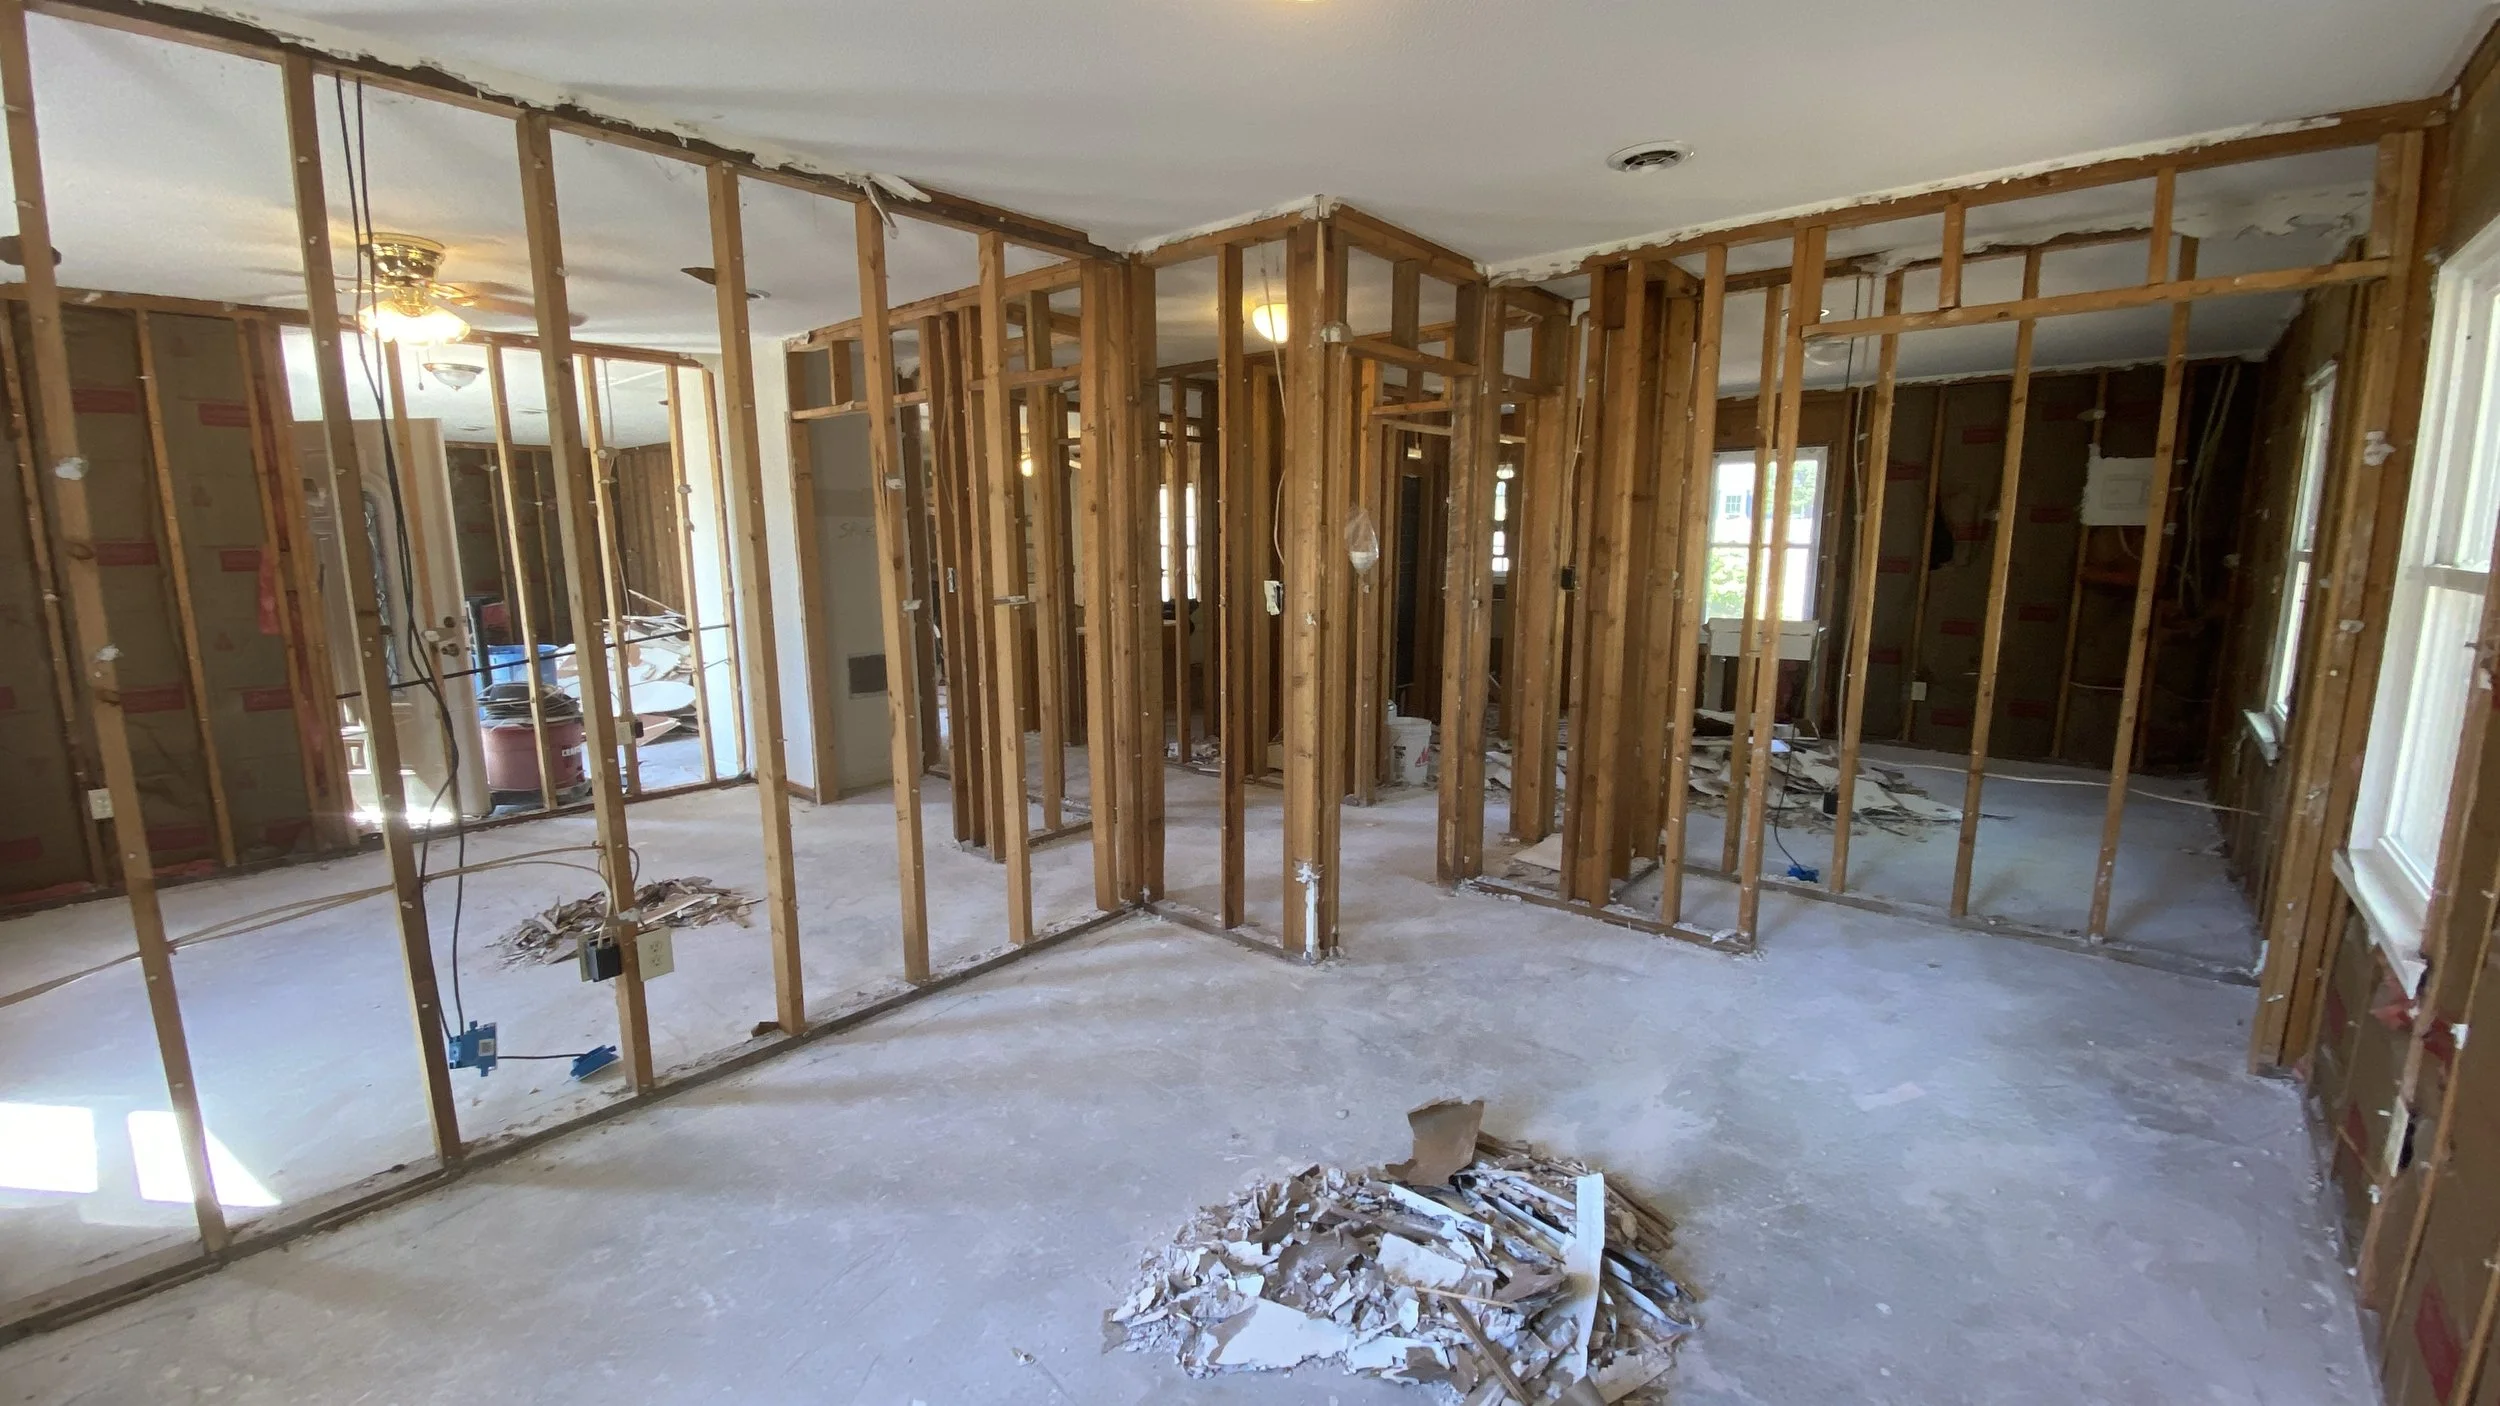
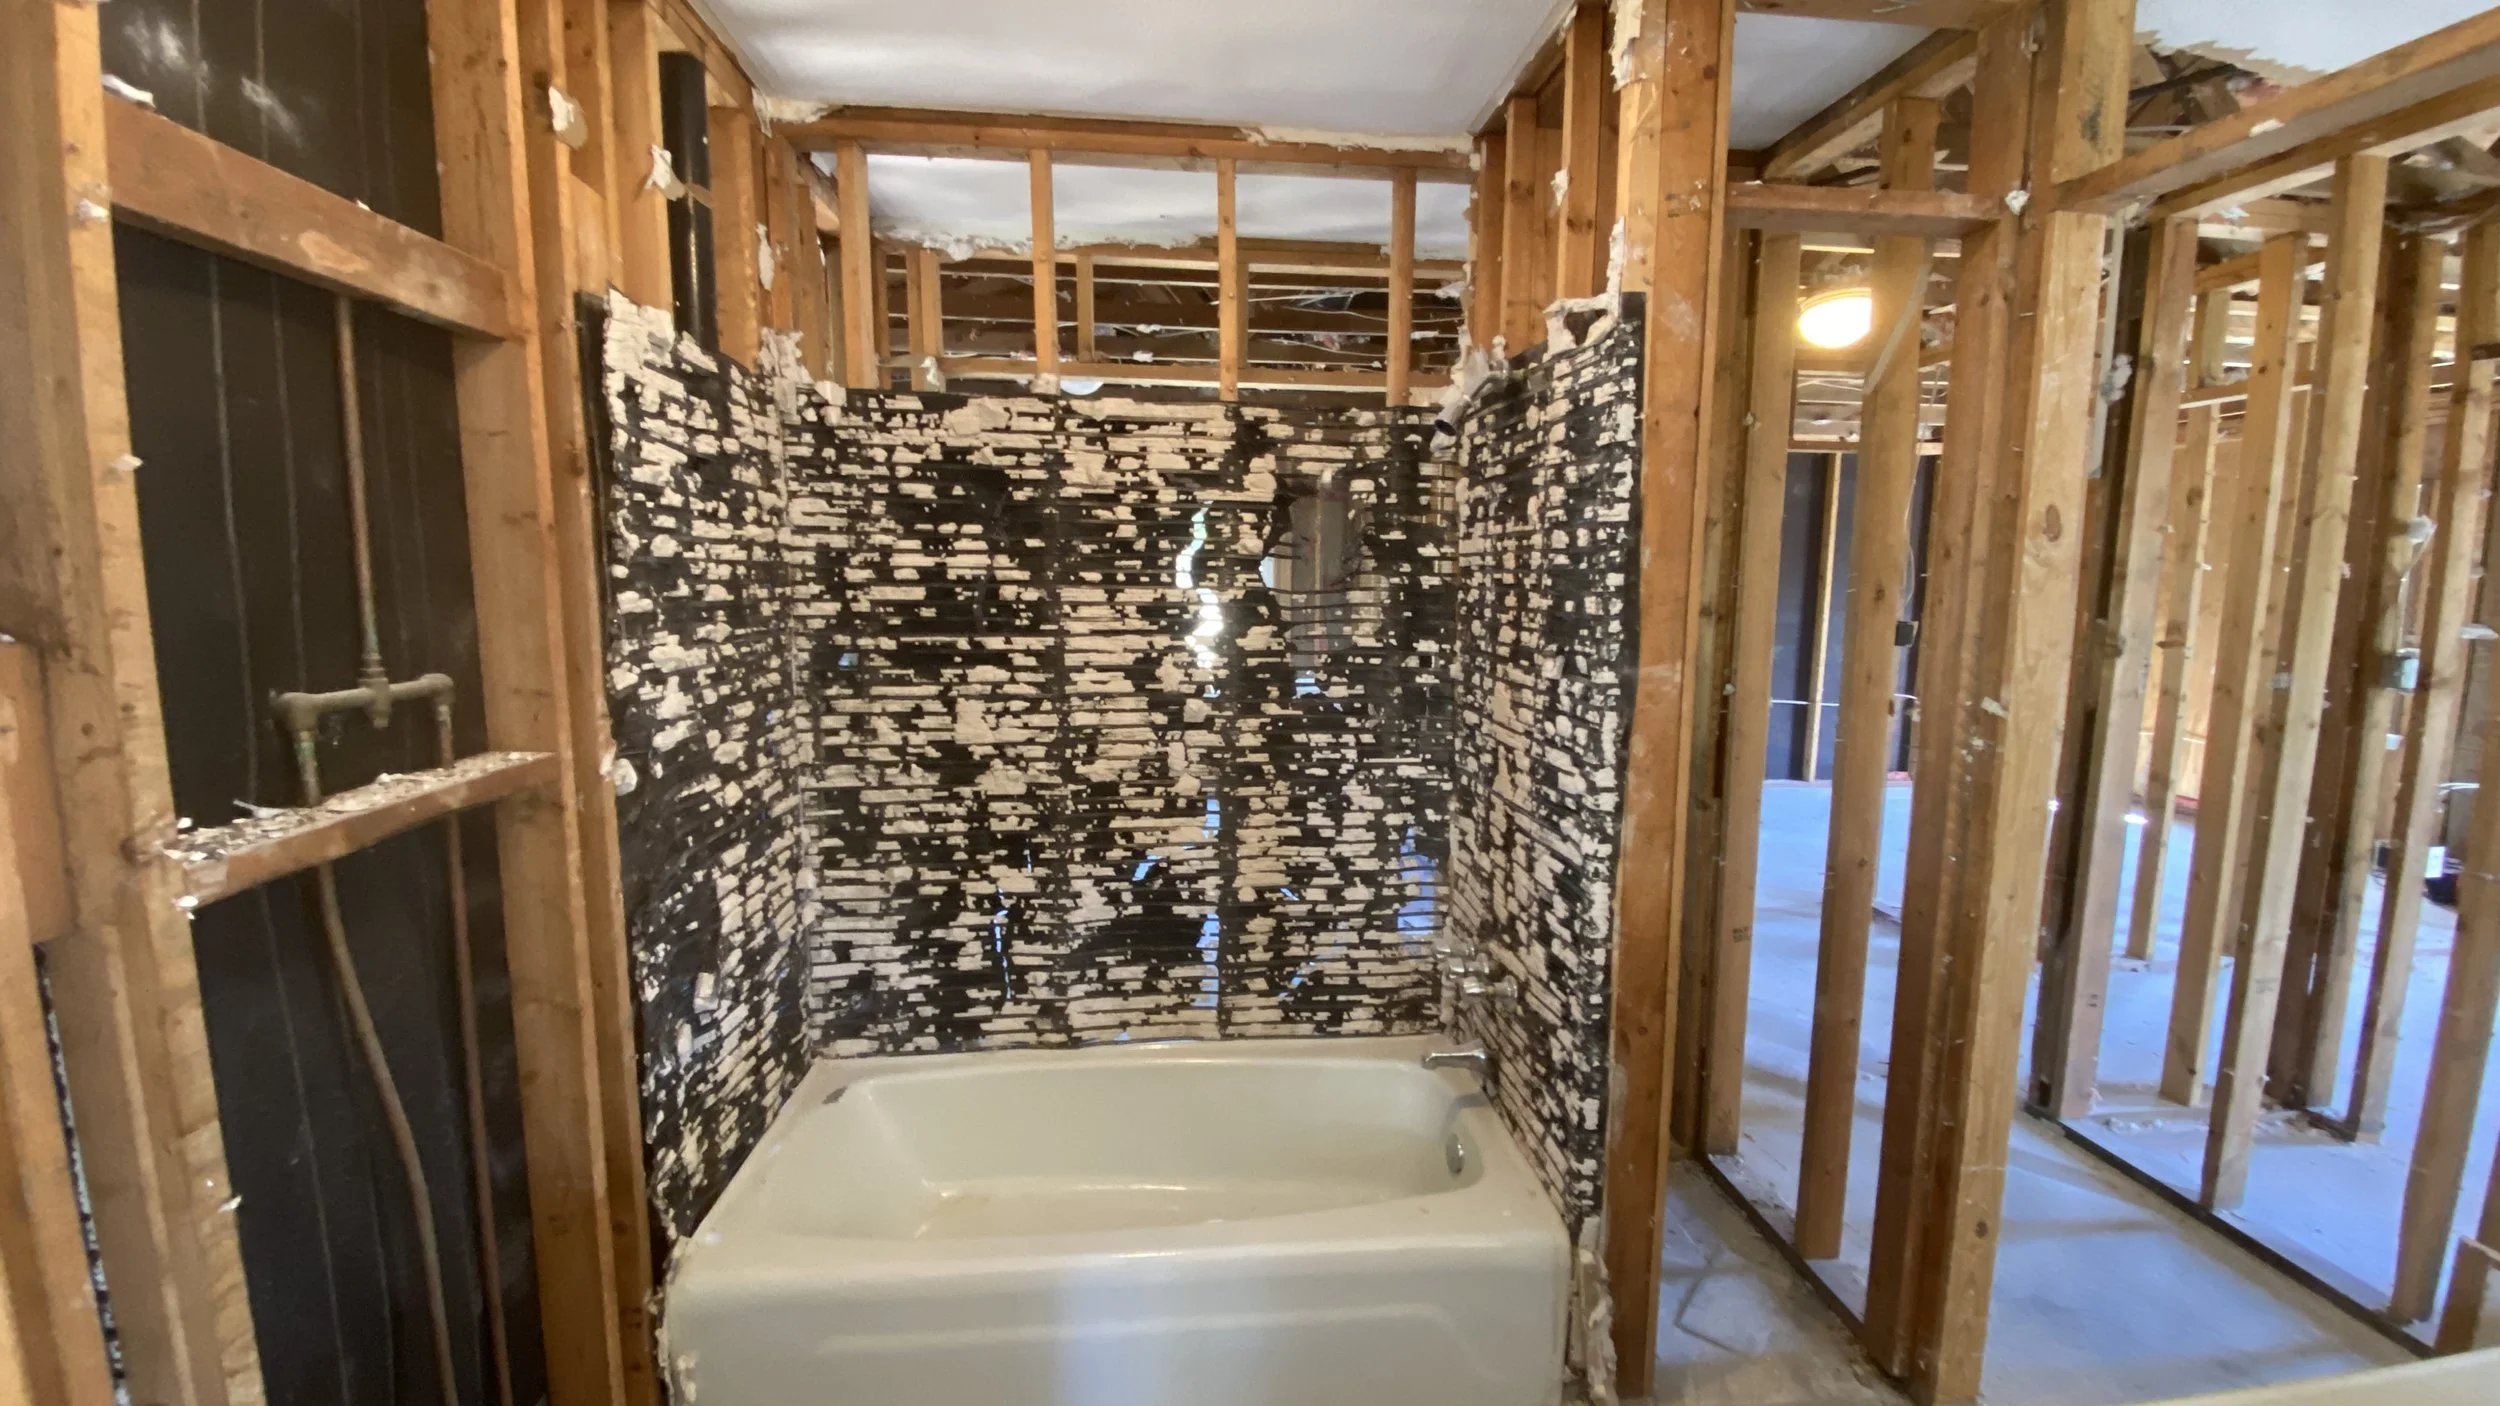
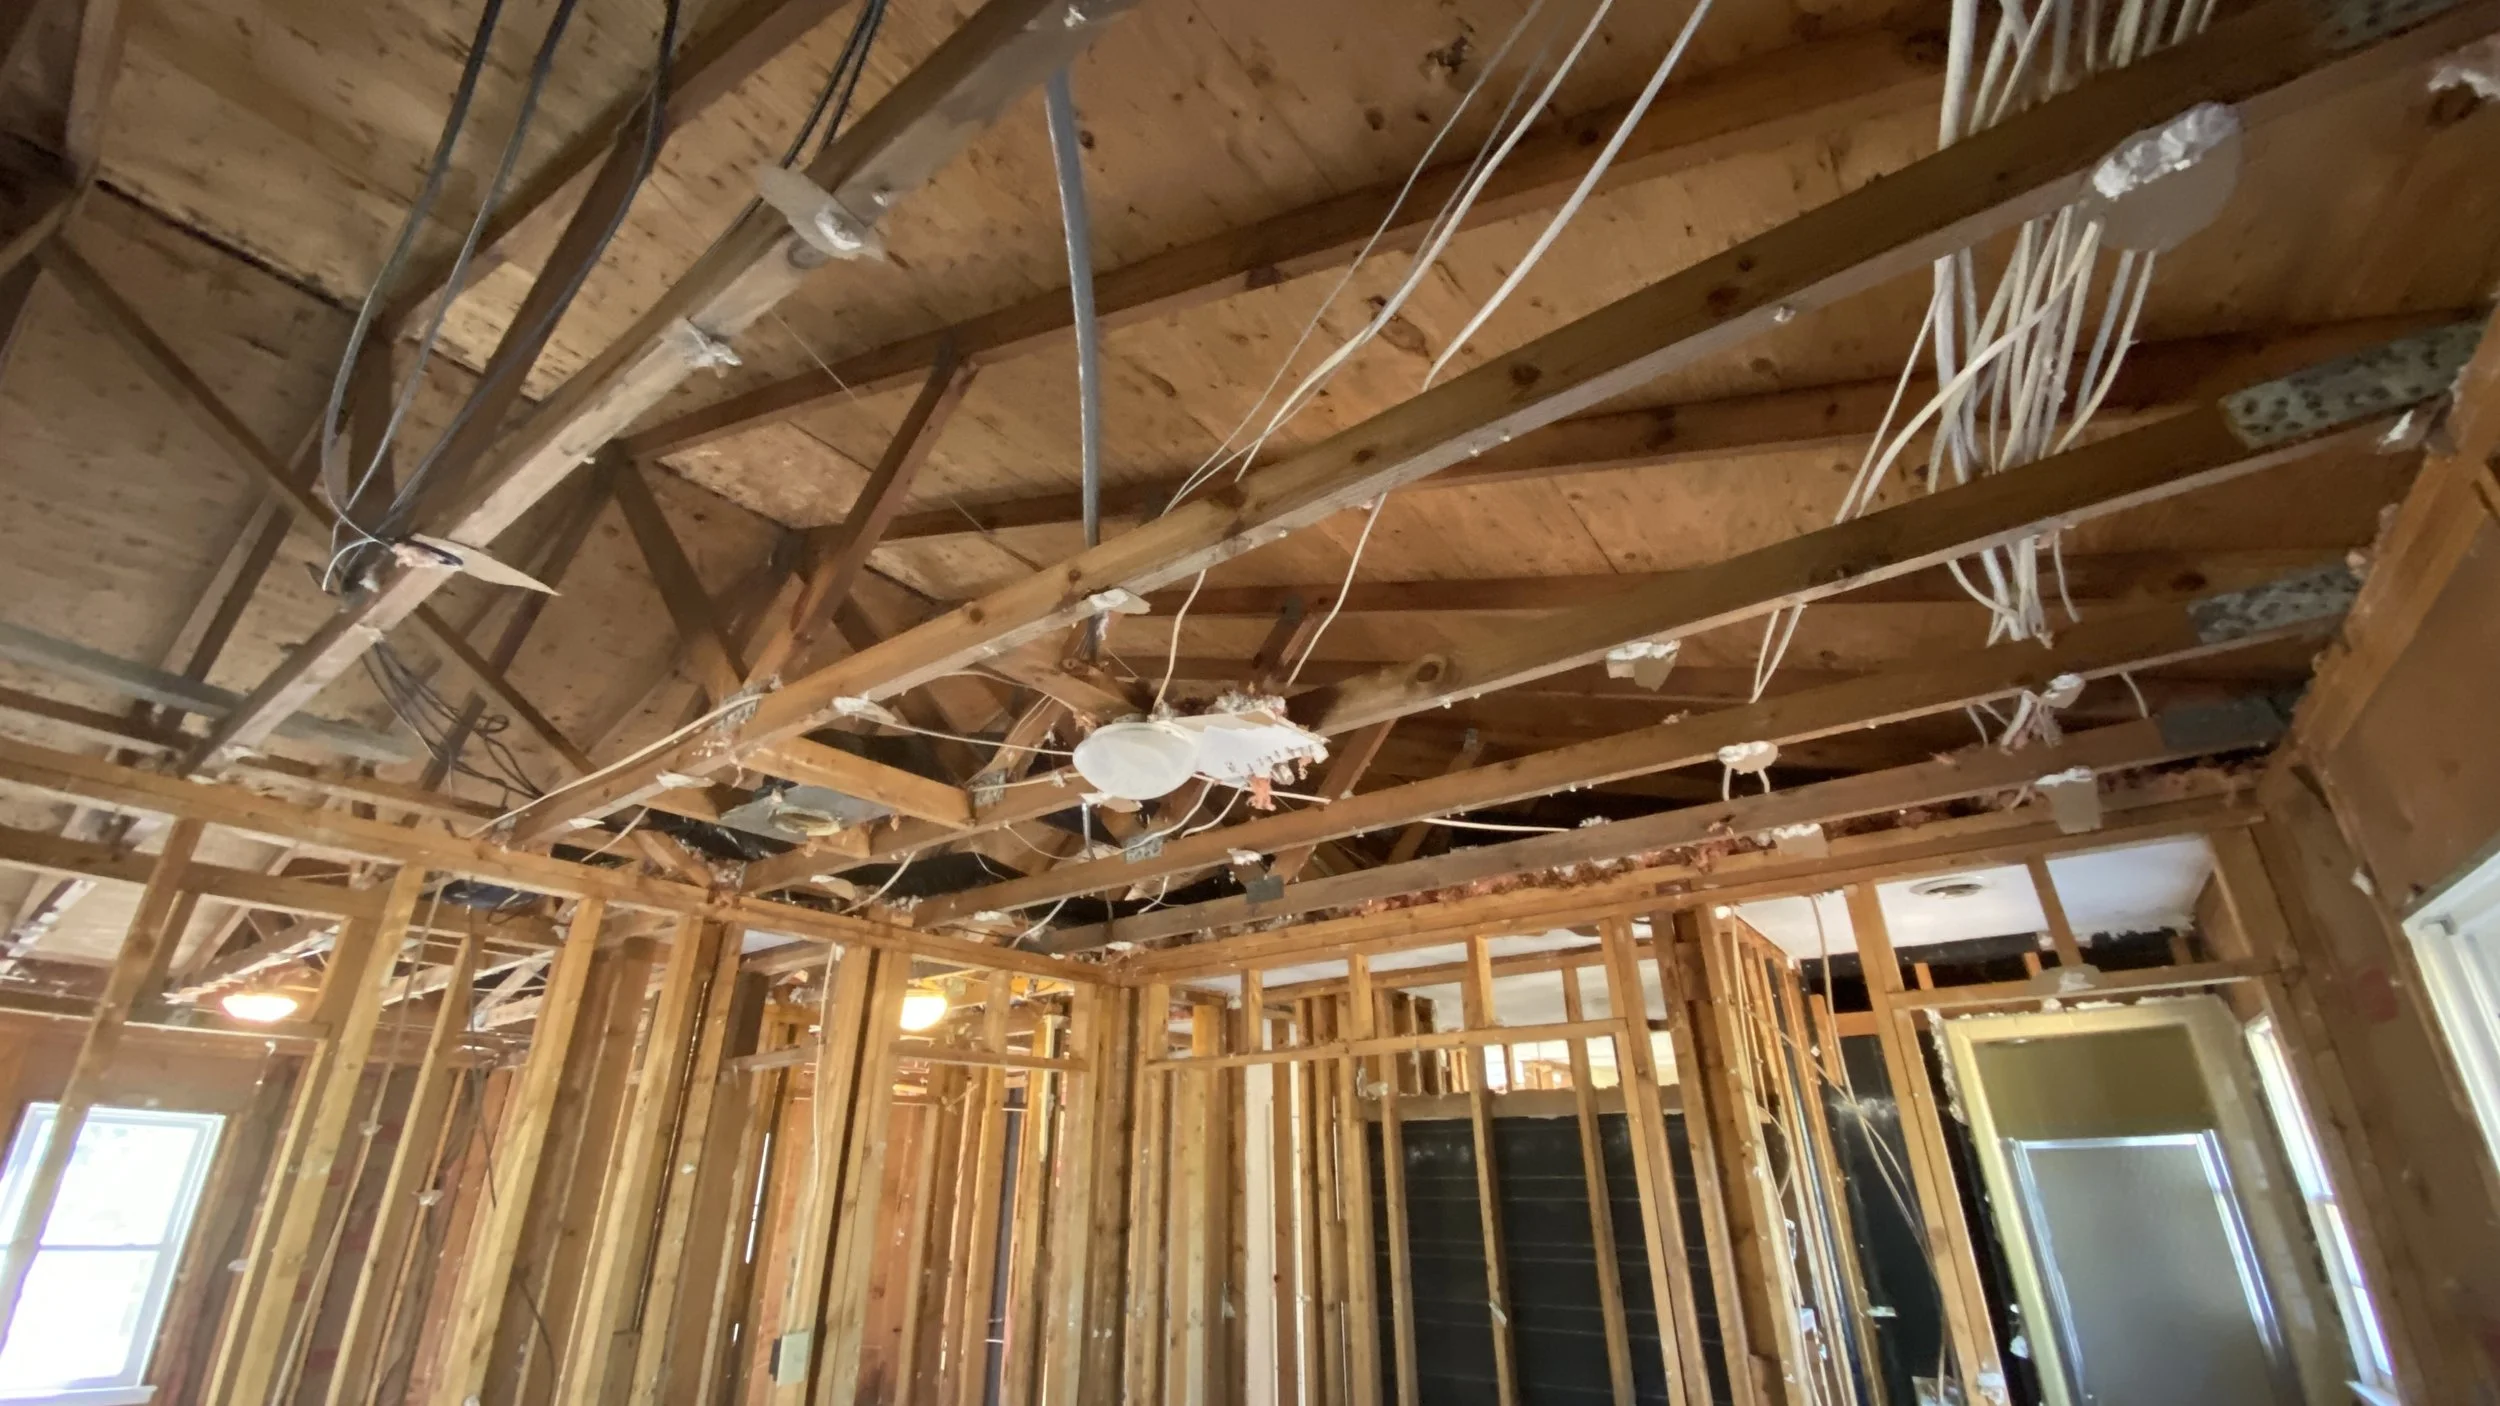
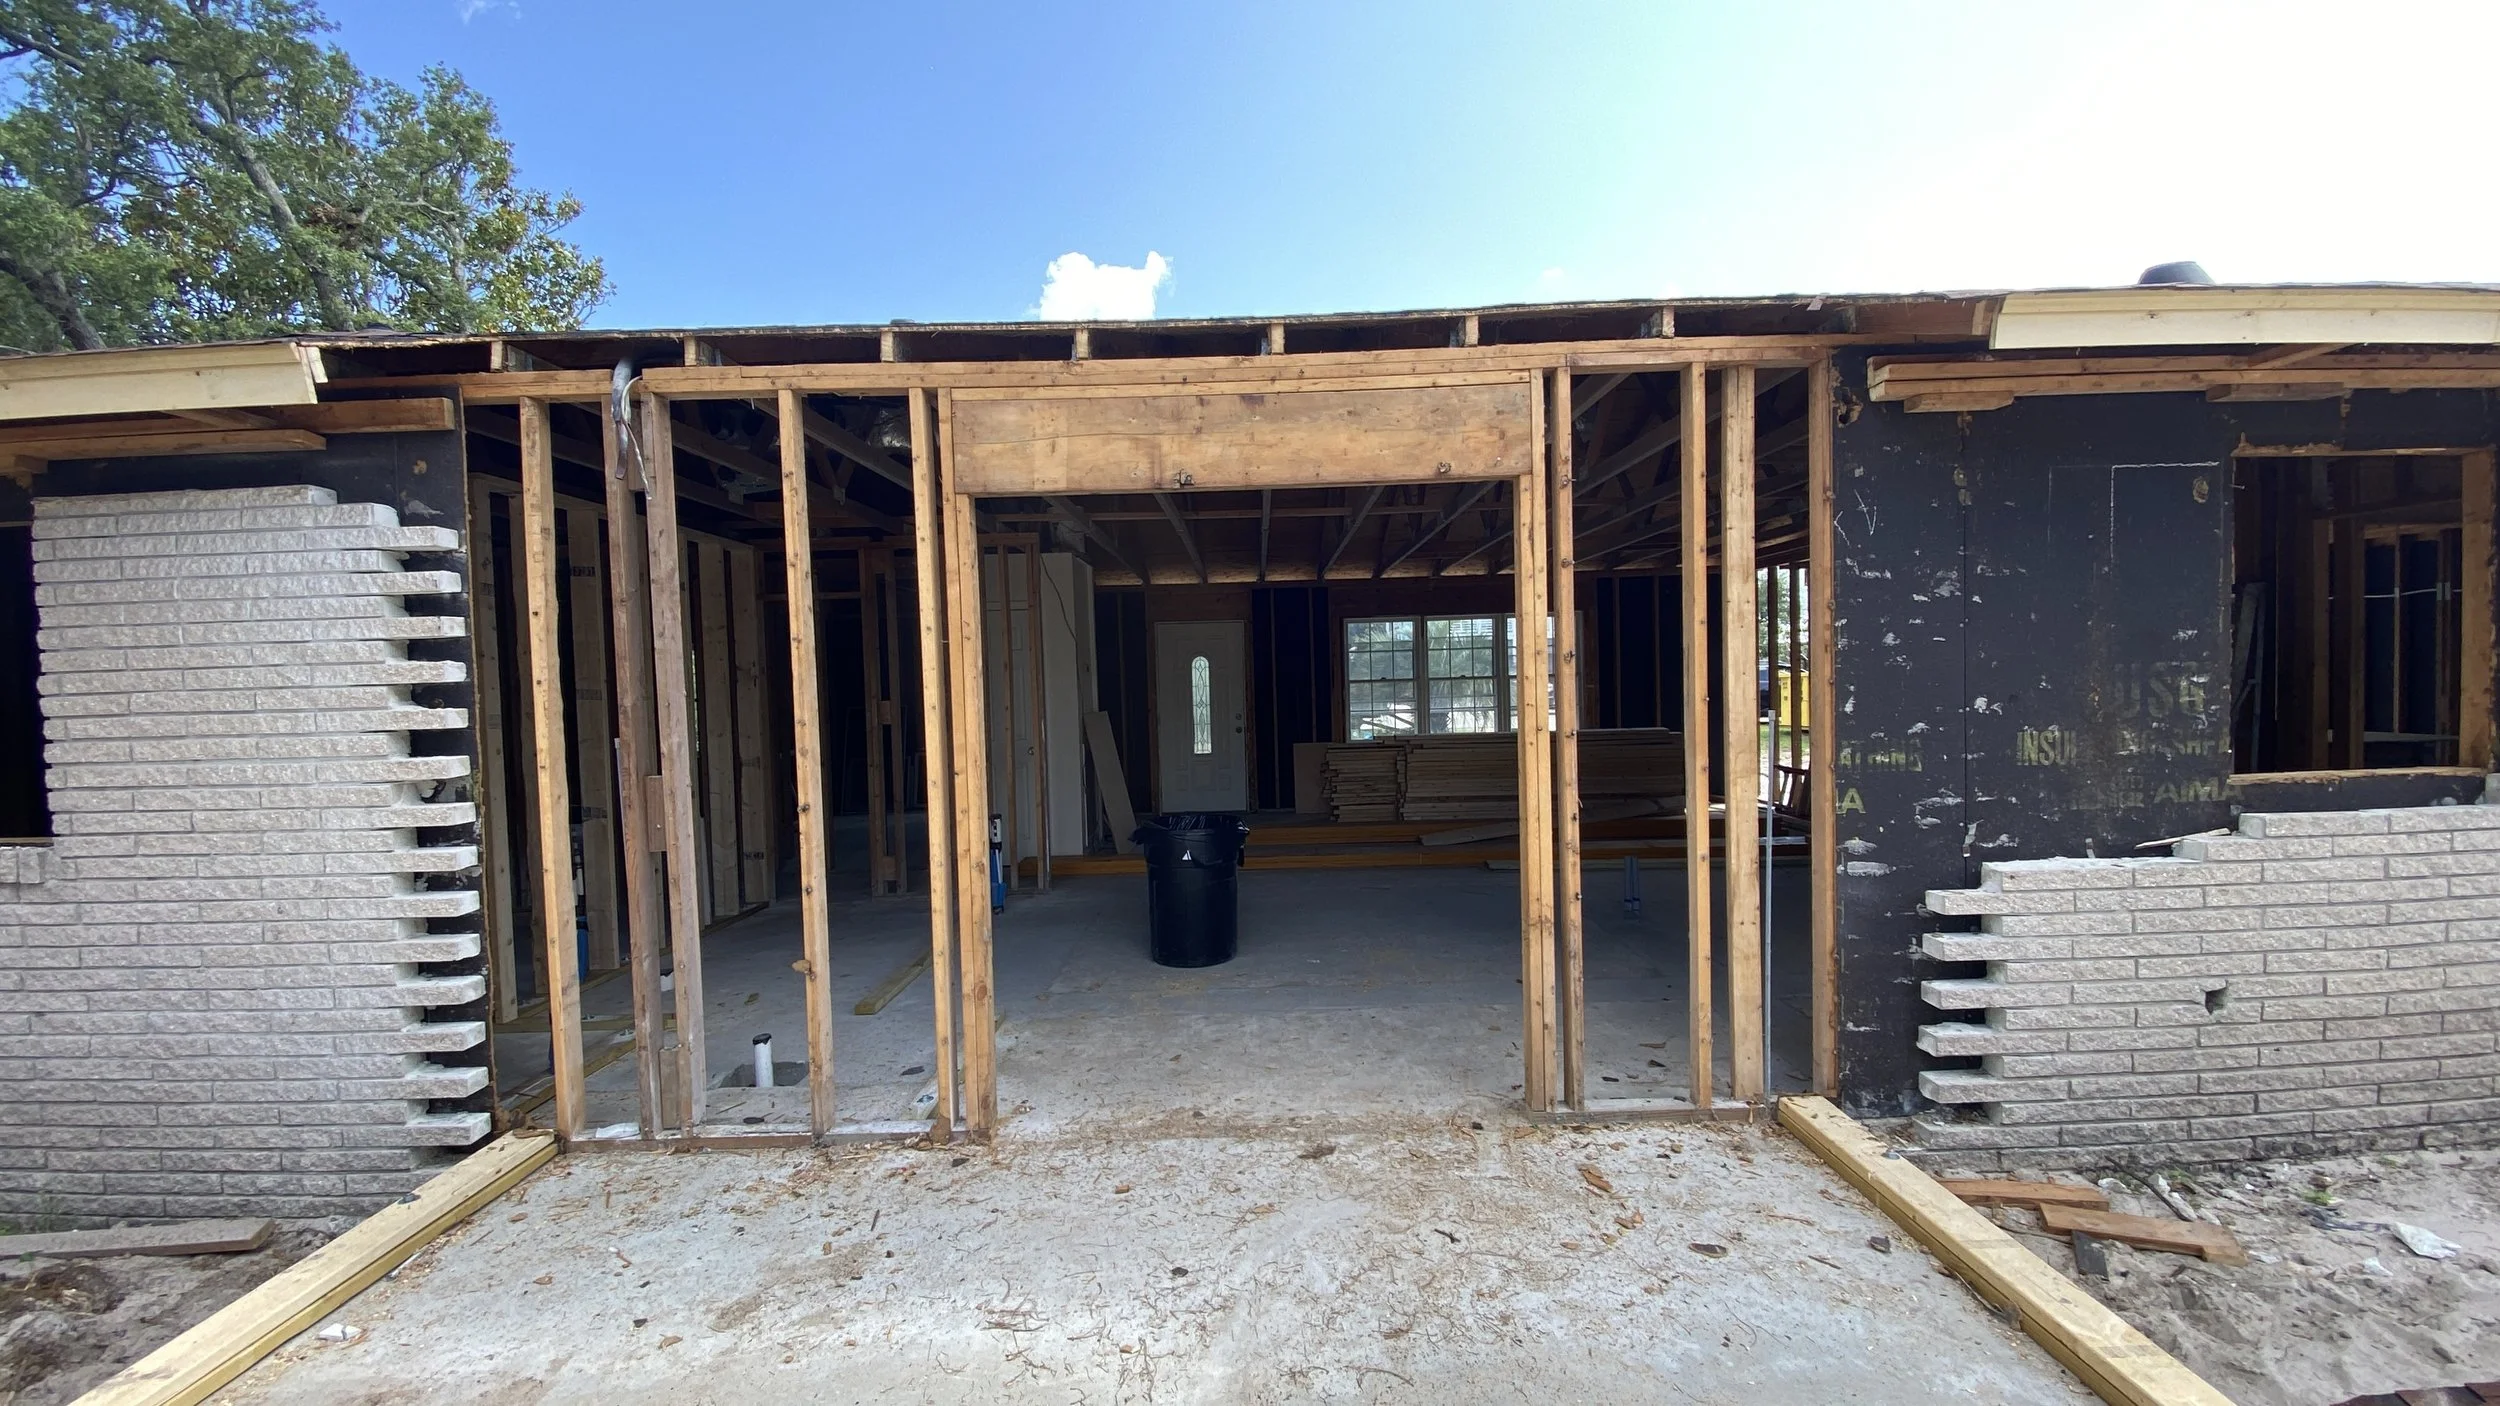
Inside we pulled down 99% of the drywall. The only original drywall in the home surrounds the HVAC closet and it was only left to protect the existing air handler in the hope it could be reused. Unfortunately, in the end it could not. We removed the drywall in order to better see any issues or damage that may have popped up over the years. As you can imagine with a 50 plus year old home, we found issues. It was also done to make everything else easier: running electrical, plumbing, HVAC, etc. Luckily, the home was in pretty decent shape structurally, without too many issues found.


If viewing on mobile, rotate phone to enlarge images. Scroll through pictures with Left & Right arrows
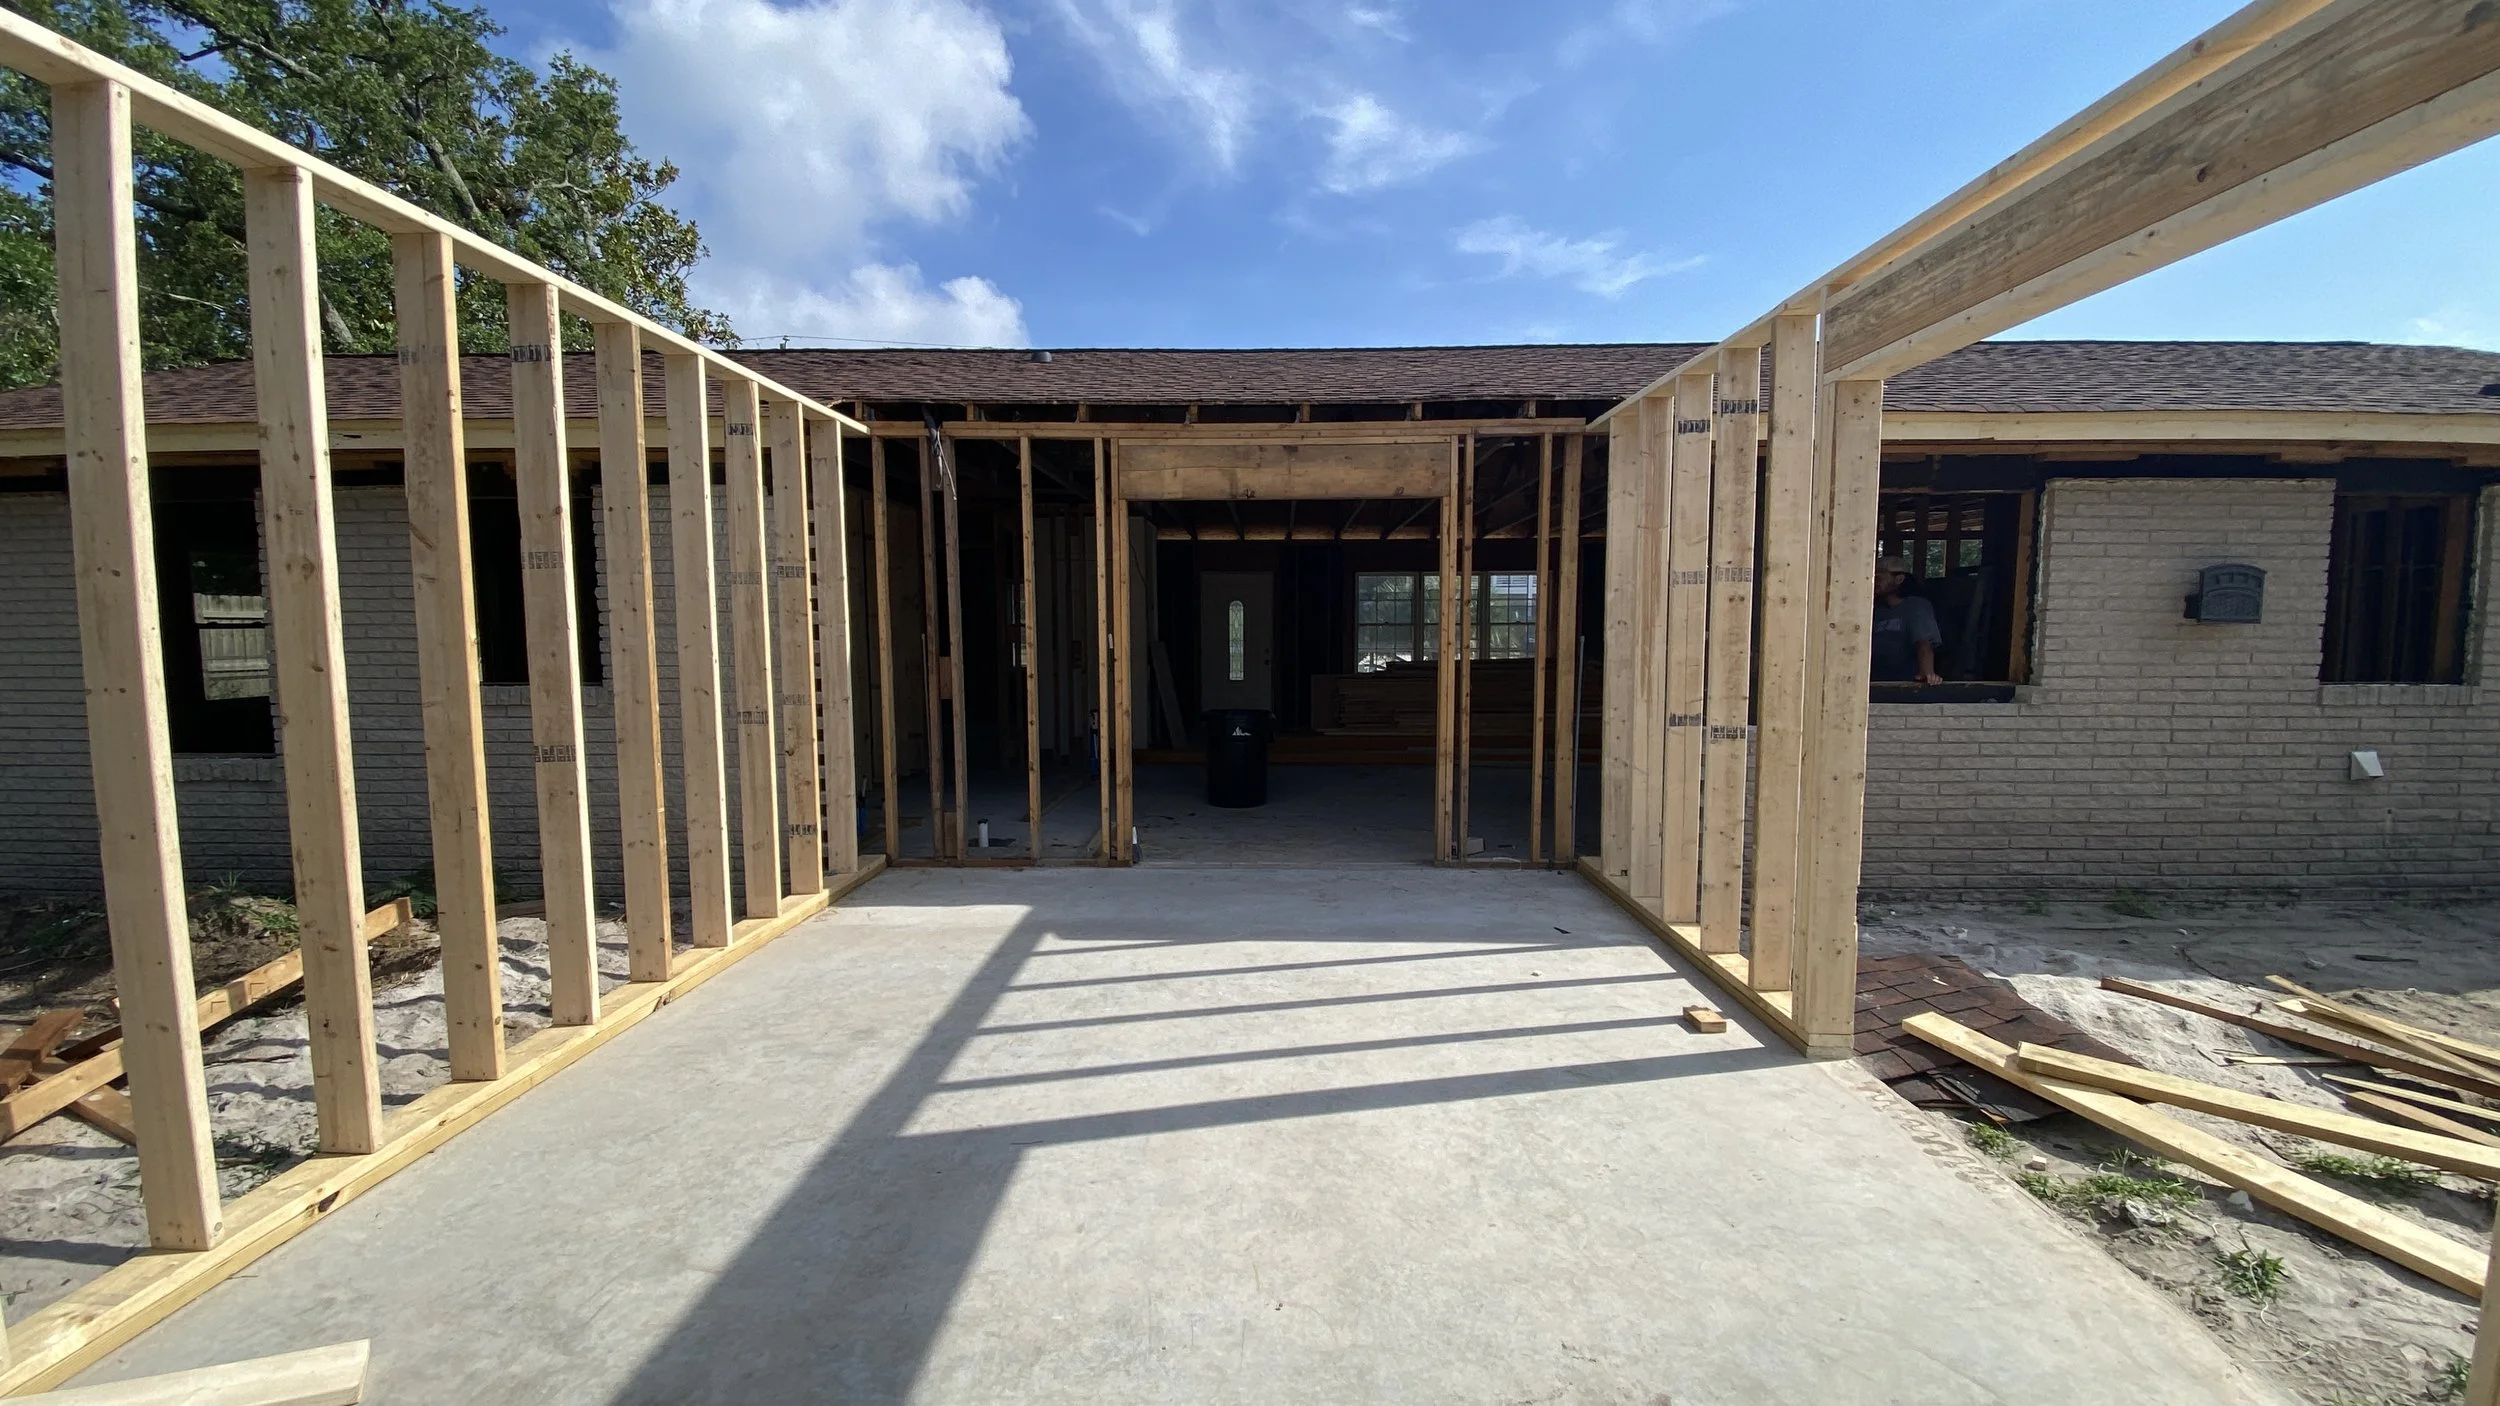
Once the home was stripped down to the bones, it was ready for the additions to go in. The first step in the process was to have the footings and pad poured. This is the concrete foundation the walls and roof build up from. Once the concrete had been poured and cured, we could begin building on it.


If viewing on mobile, rotate phone to enlarge images. Scroll through pictures with Left & Right arrows
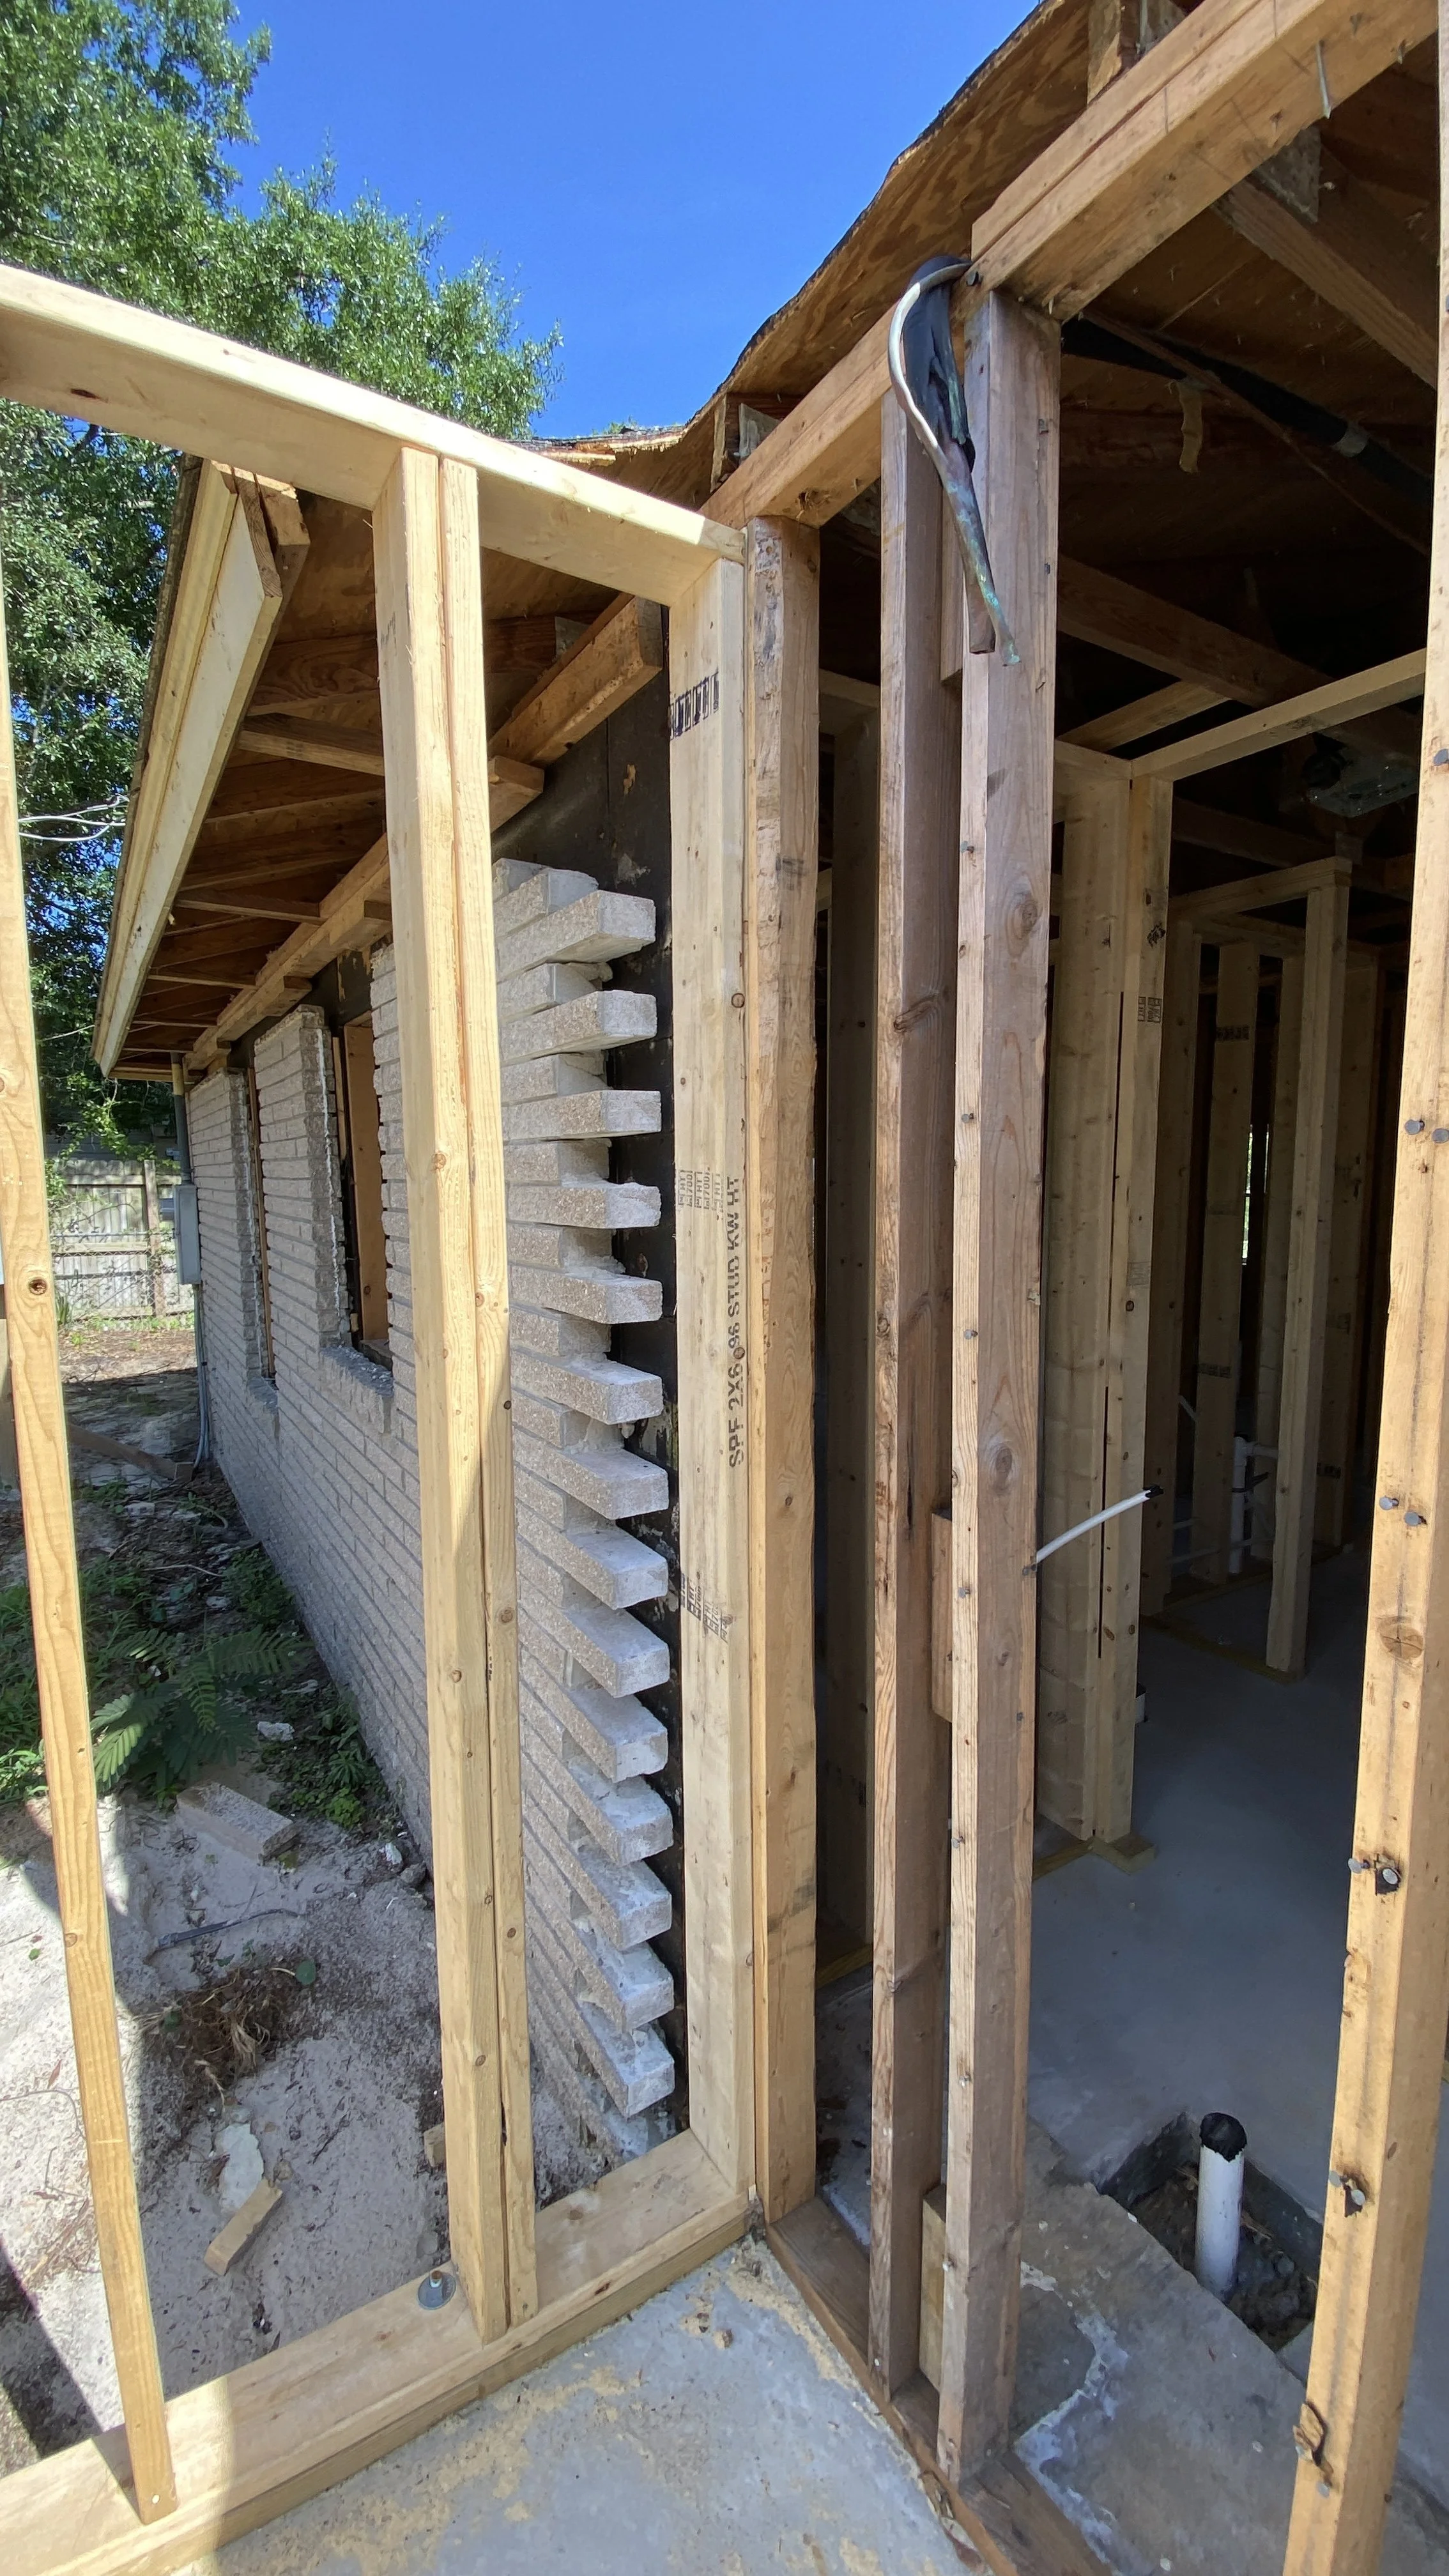
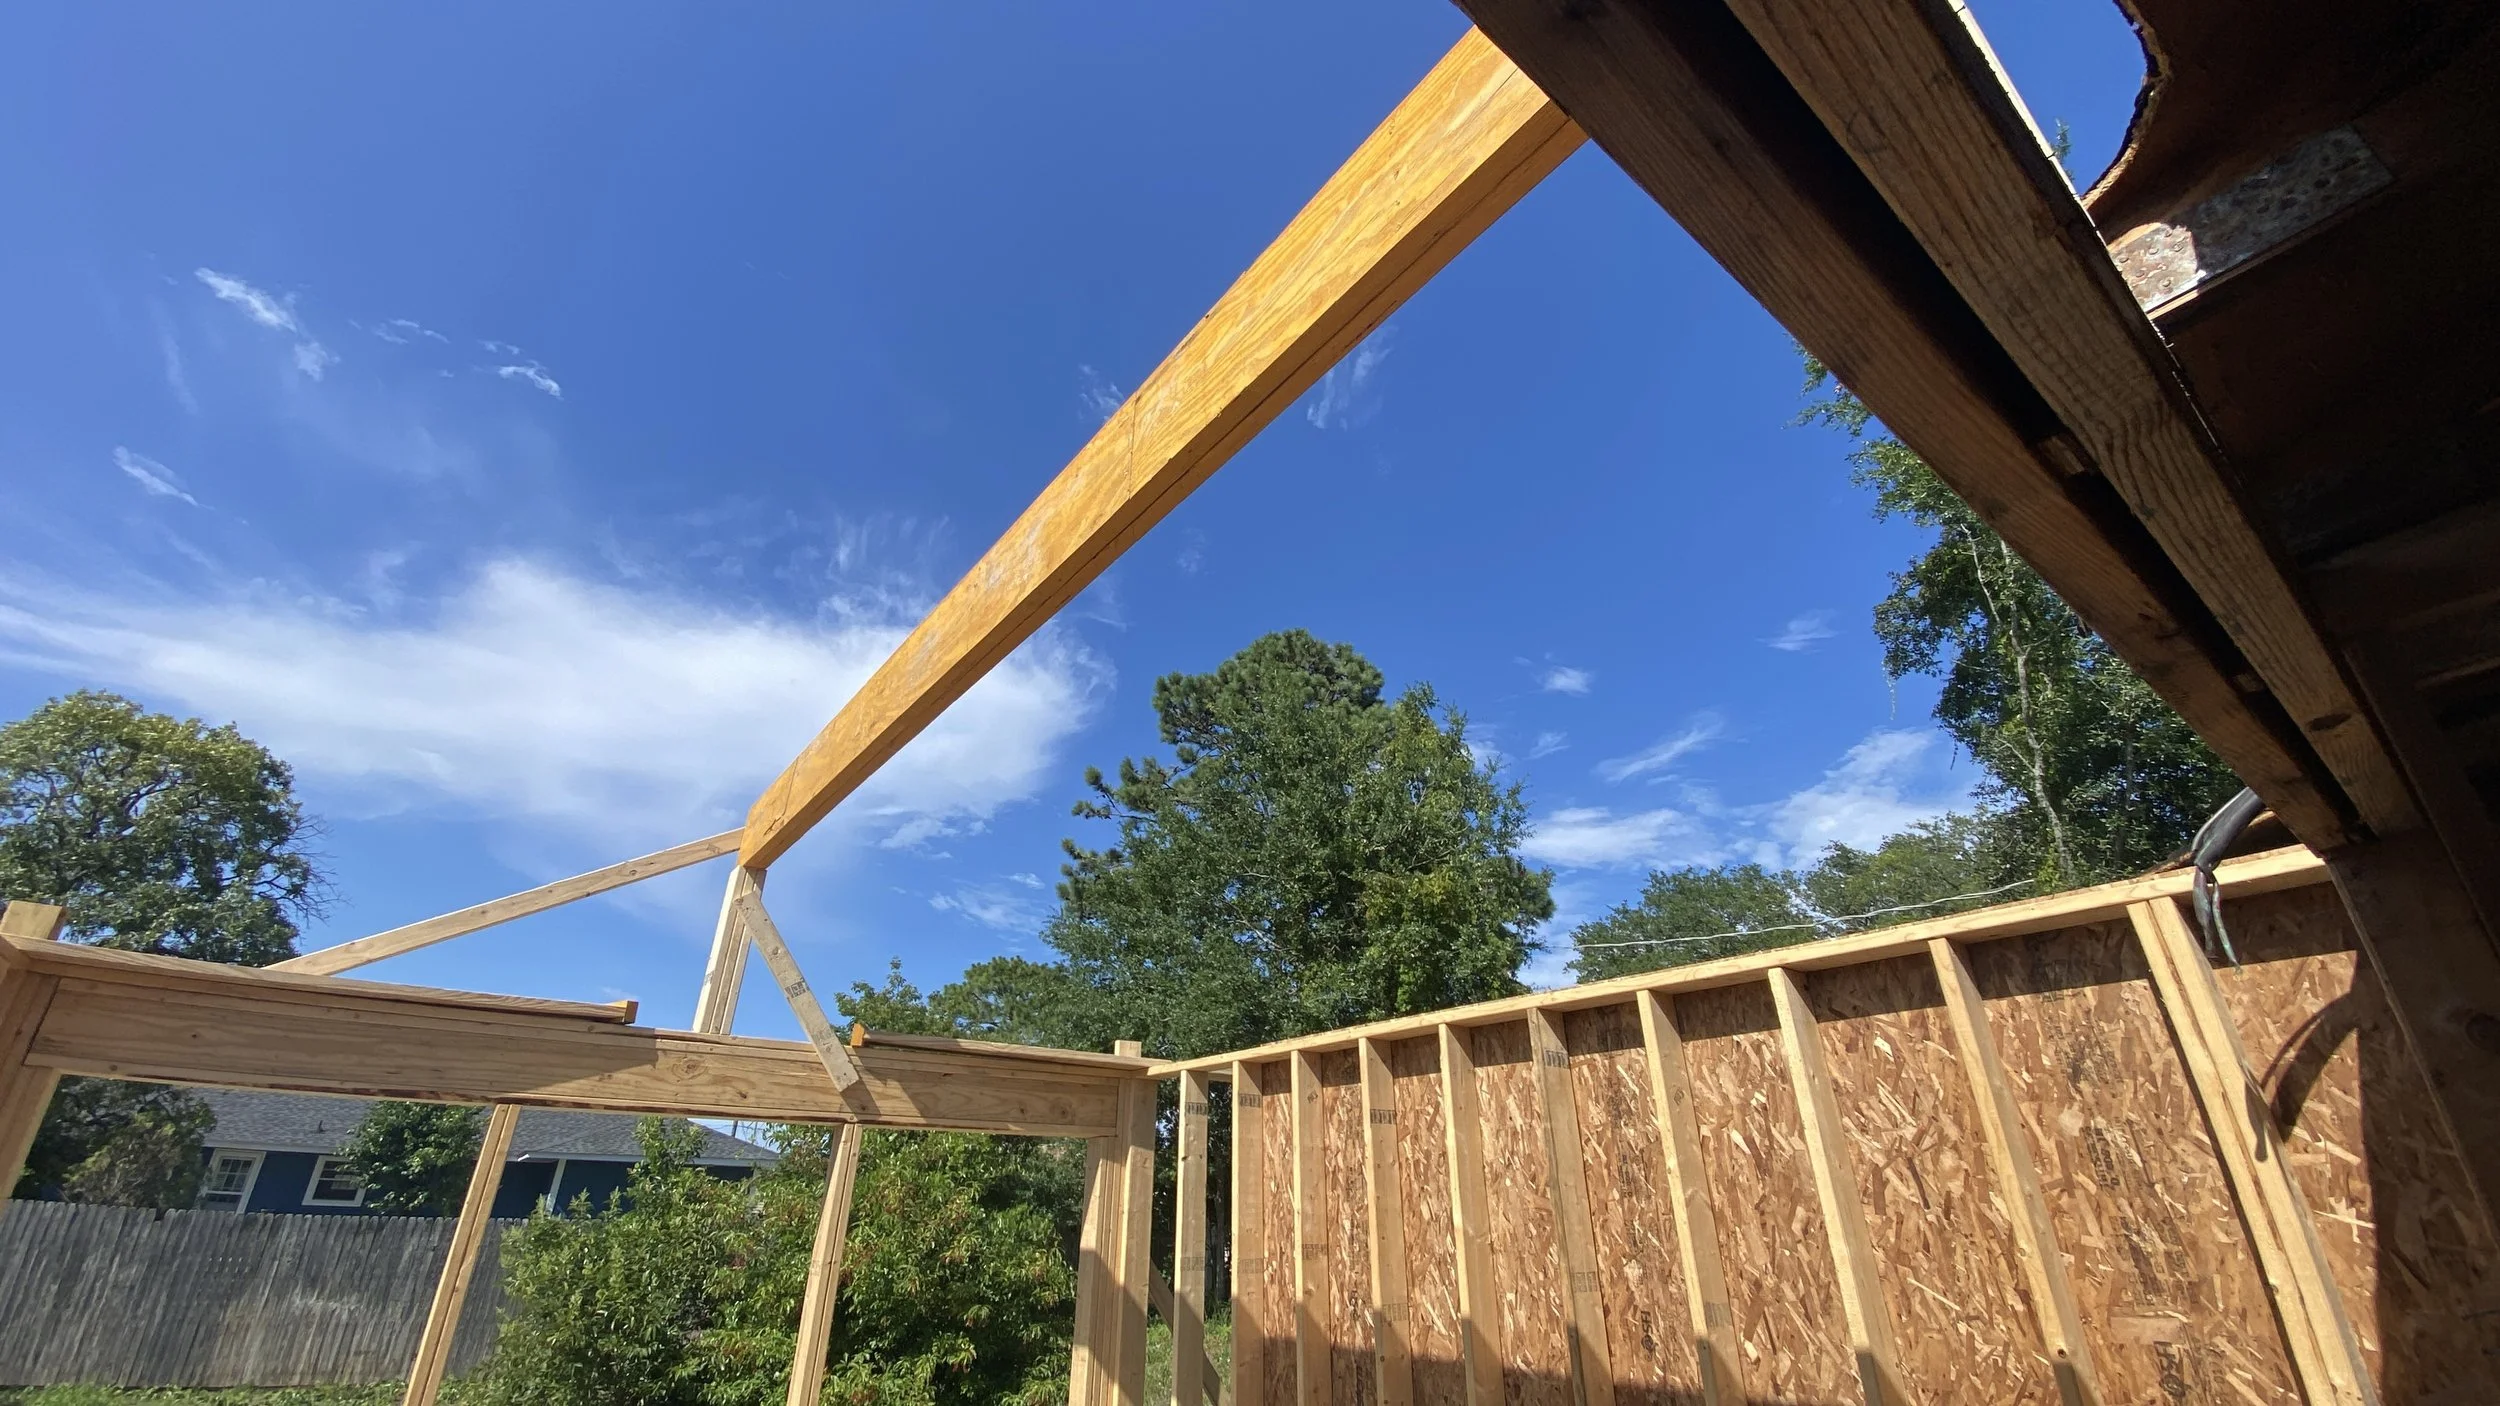
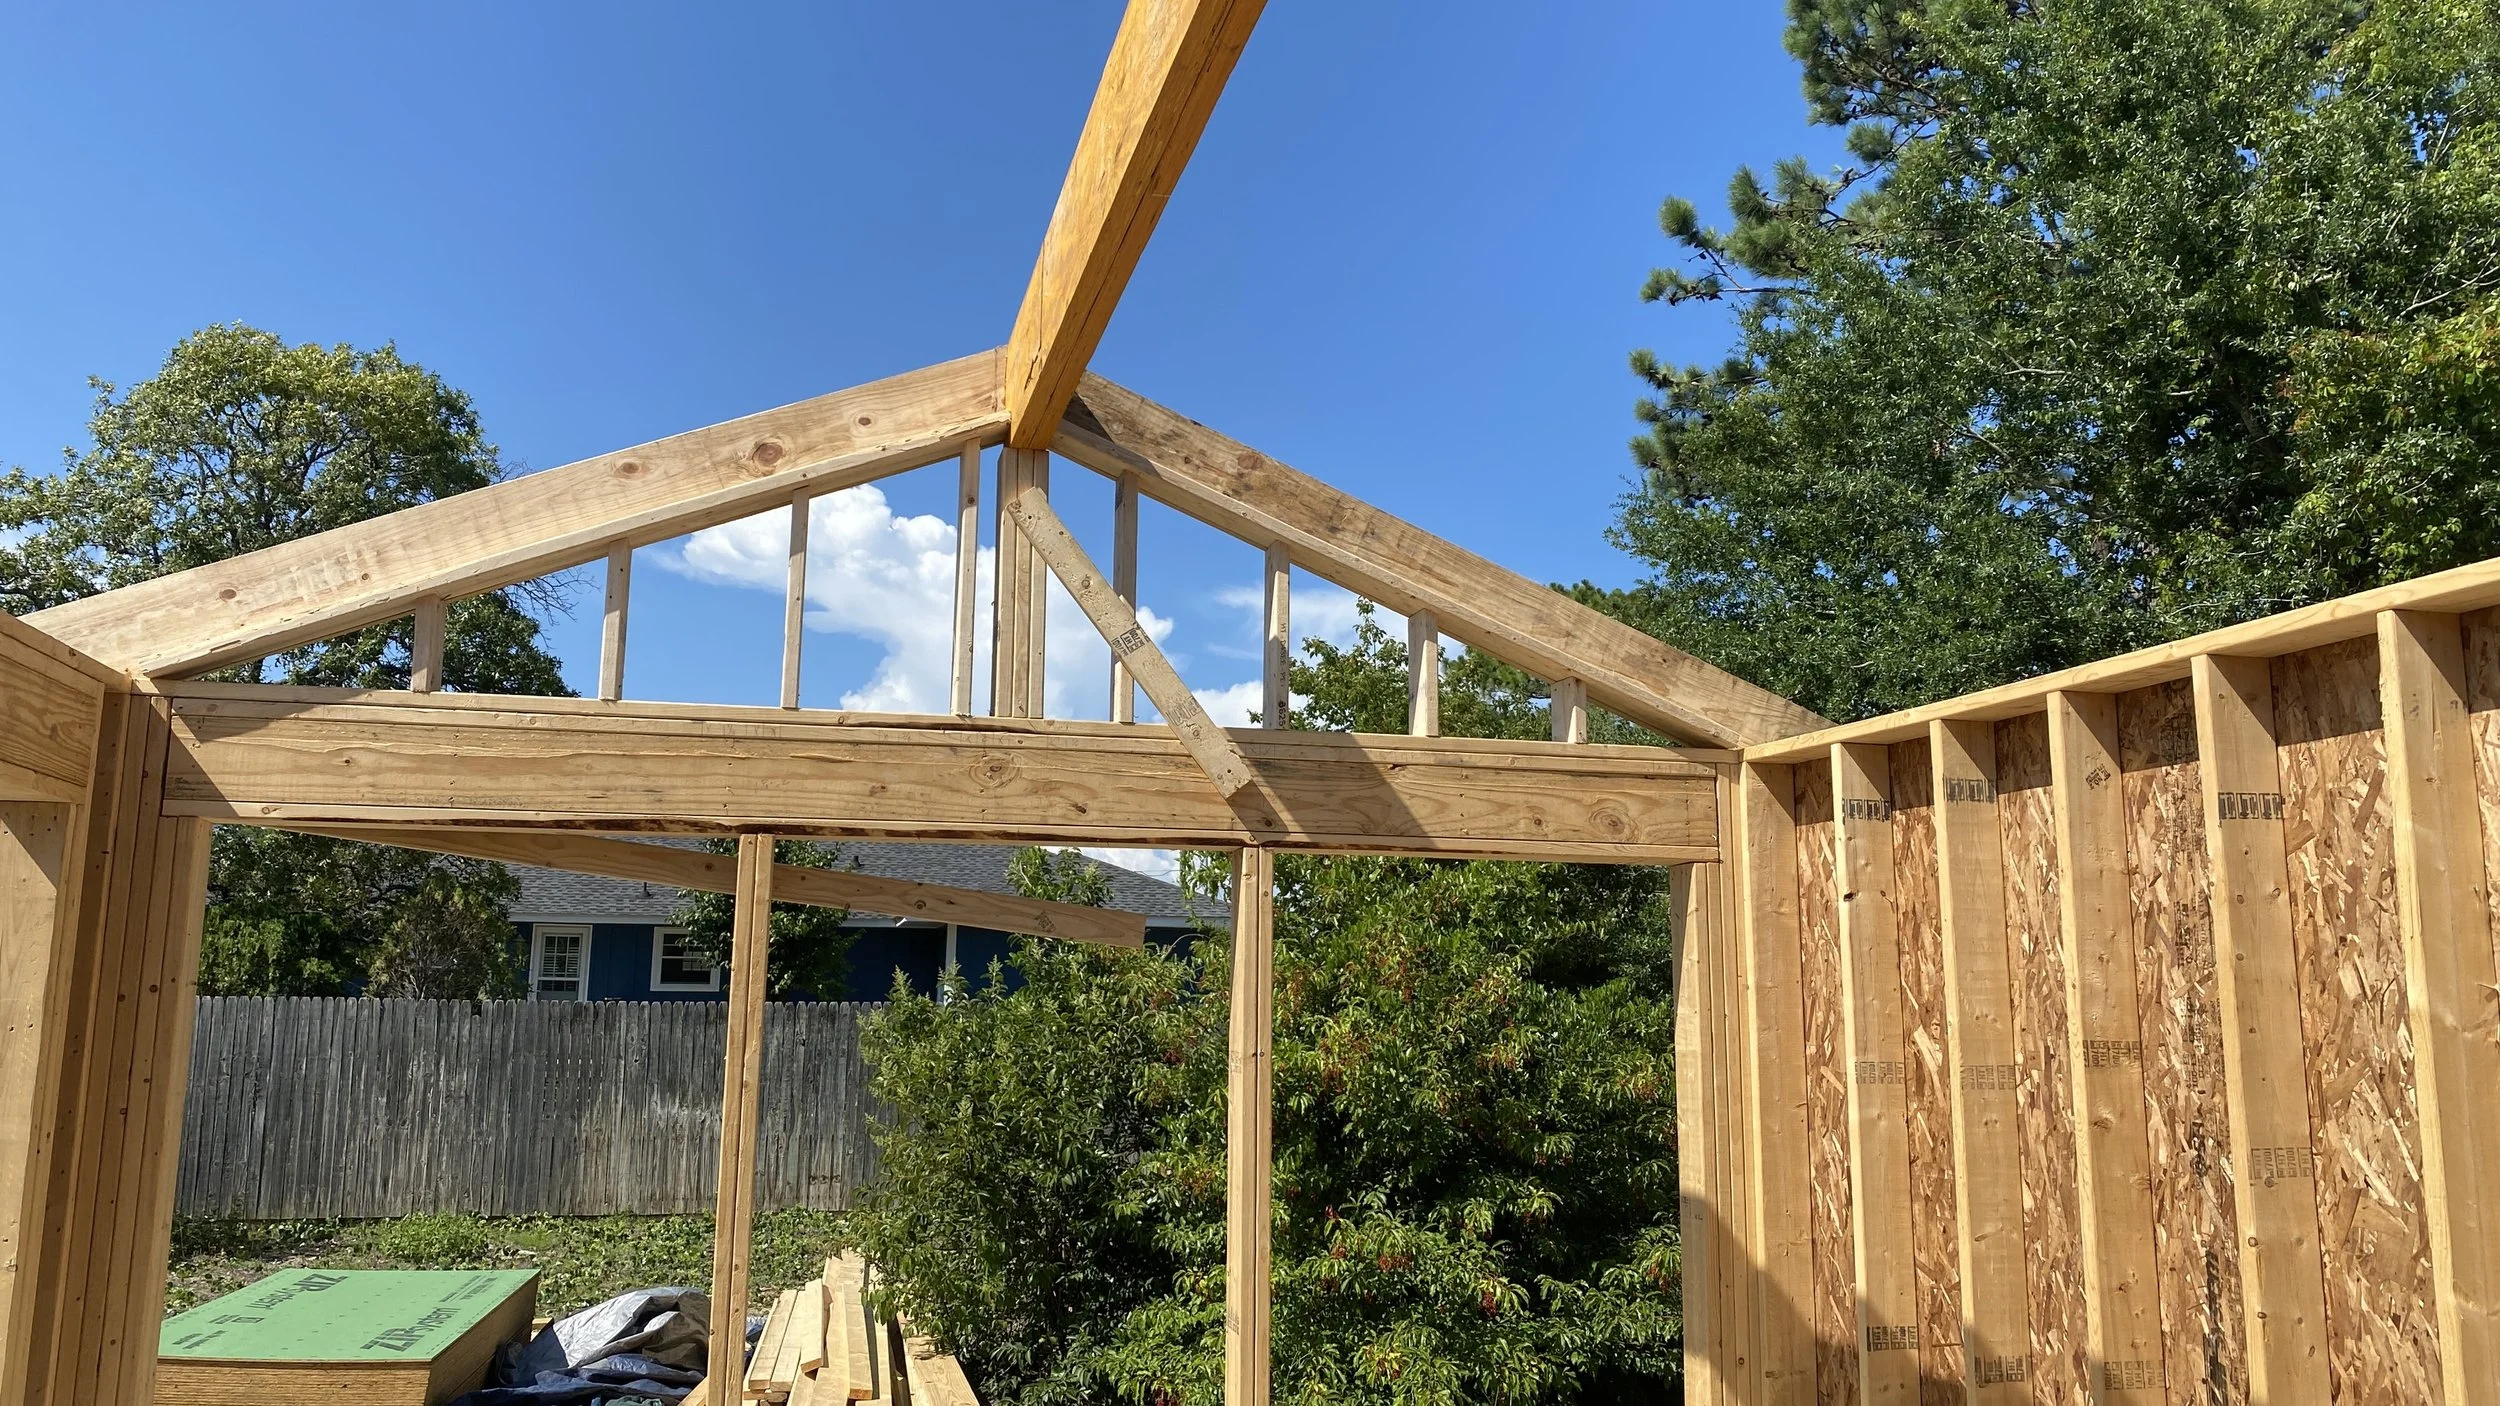
For the rear sunroom we first had to make an opening in the exterior wall, where you'd be able to enter the room from the house. We removed the brick cladding to expose the structure so we could attach the addition to the house. Then we built the corners of the addition, making sure they were in the right place and plumb. From there we could begin building the walls connecting the house to the new corners, and then the new corners to each other. With the walls assembled, we could start framing the roof additions. We hand cut the roofs, which means we didn’t use trusses. We did this for two reasons: first the sunroom ceiling was to be vaulted and second, the roof additions were small & simple. No need to over complicate things when you know how to hand cut a roof.
This project is ongoing, so come back to see the next part of the project! We are nearing the end so the full build will be here soon.
If you are looking to upgrade your spaces, we can help.
Together we can create a places you’ll love to spend time in.
Contact us today to get started!
